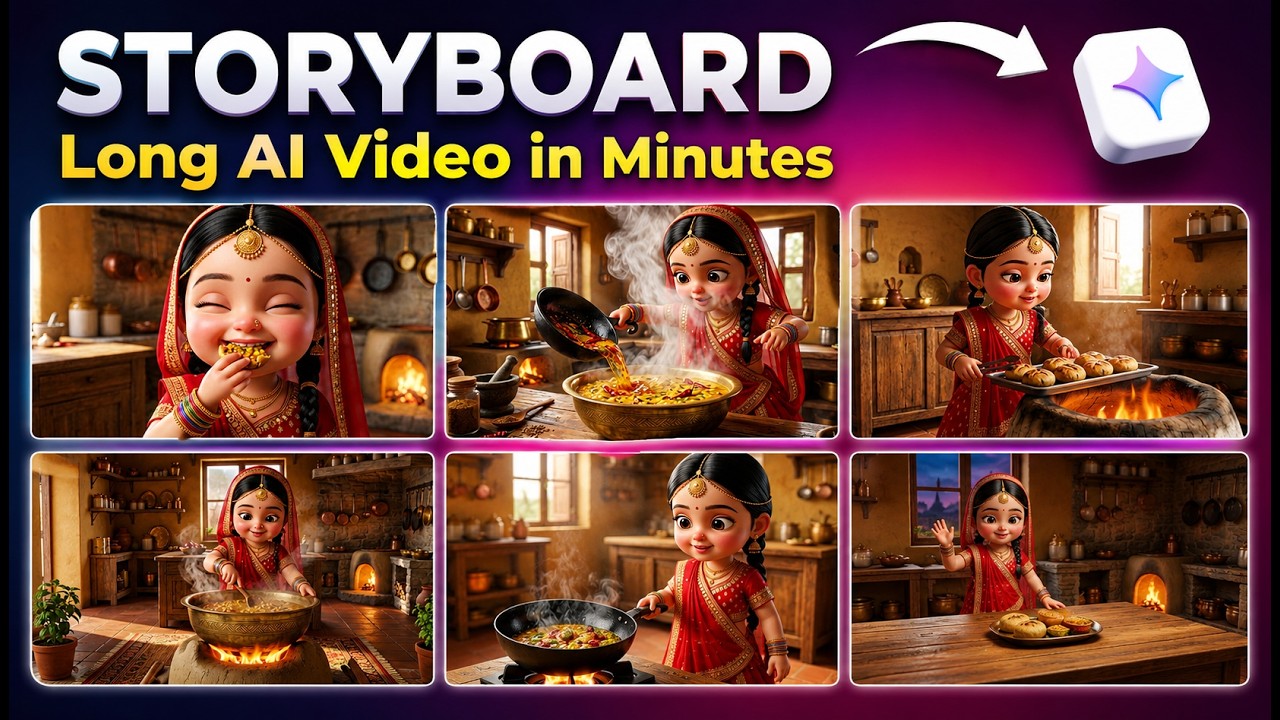
If you’ve ever spent hours creating consistent AI characters, matching locations, and scene-by-scene prompts, Google has introduced a tool that could dramatically simplify the entire workflow.
Google Storyboard Studio, available inside Google Flow, helps creators turn a simple story into a complete storyboard with consistent characters, locations, props, and shots—all with minimal manual prompting.
Here’s everything you need to know.
What is Google Storyboard Studio?
Google Storyboard Studio is an AI-powered storytelling tool built into Google Flow. Instead of writing dozens of detailed prompts, you simply provide your story, choose a visual style, and let the AI build the storyboard automatically.
The tool can:
- Generate consistent AI characters
- Create matching locations
- Generate reusable props
- Divide your story into scenes
- Produce multiple camera shots for every scene
- Prepare assets that can later be converted into AI videos
For creators producing YouTube videos, animated stories, educational content, or social media reels, this significantly reduces production time.
Step 1: Open Google Flow
Start by opening Google Flow.
Create a New Project.
Inside the project you’ll find several AI tools including:
- Images
- Videos
- Prompting
- Storyboard Studio
Select Storyboard Studio.
Step 2: Choose Your Visual Style
Before generating anything, select your preferred art style.
Examples include:
- 3D Animation
- Realistic
- Stylized illustrations
- Other supported visual styles
Your chosen style will be applied consistently throughout the entire storyboard.
Step 3: Paste Your Story
Instead of writing prompts scene by scene, simply paste your raw story into Storyboard Studio.
Many creators first use ChatGPT (or another writing assistant) to generate the story.
Once pasted, submit it.
The AI automatically analyzes the story and divides it into:
- Individual scenes
- Character appearances
- Scene descriptions
- Dialogue blocks
No manual breakdown is required.
Step 4: Automatic Scene Breakdown
Storyboard Studio intelligently separates your script into multiple scenes.
Each scene includes:
- Scene description
- Character involved
- Dialogue
- Visual context
This saves creators from manually planning every shot.
Step 5: Generate AI Characters
Next, move to the Assets section.
Click:
Auto Fill Character
Storyboard Studio automatically generates your main character based on the story.
The character remains consistent throughout the entire project.
Step 6: Generate Locations
After creating characters, generate locations.
Click:
Auto Fill Location
The AI creates multiple views of each location, often providing several camera angles for the same environment.
This helps maintain visual consistency across scenes.
Step 7: Generate Props
Now generate all required objects.
Click:
Auto Fill Props
Storyboard Studio identifies important items mentioned in the story and creates them automatically.
Examples:
- Cooking utensils
- Furniture
- Vehicles
- Accessories
- Story-specific objects
These props remain visually consistent throughout the project.
Step 8: Review and Edit Assets
Every generated asset can be customized.
You can edit:
Characters
- Name
- Physical appearance
- Clothing
- Accessories
- Visual description
Locations
- Environment
- Layout
- Visual style
Props
- Appearance
- Style
- Details
After making changes, simply regenerate the asset.
Step 9: Generate the Storyboard
Open the Storyboard section.
Each scene already contains suggested shots.
Instead of manually prompting every image, simply click:
Auto Fill
Storyboard Studio automatically creates all storyboard shots.
You can even choose how many shots each scene should contain.
For example:
- 1 shot
- 2 shots
- 3 shots
- 4 or more shots
This gives you flexibility depending on the pacing of your video.
Step 10: Consistency Across the Entire Story
One of the biggest strengths of Storyboard Studio is consistency.
The generated storyboard keeps:
- The same character design
- Matching locations
- Identical props
- Consistent visual style
- Stable camera composition
This eliminates one of the biggest problems in AI-generated storytelling.
Step 11: Convert the Story into Your Native Language
Storyboard Studio currently generates scene descriptions and dialogue in English.
If you’re creating content in another language (such as Hindi or Marwari), you can:
- Copy the generated script.
- Paste it into ChatGPT.
- Ask ChatGPT to translate the dialogue scene by scene.
For example:
“Convert this script scene-wise into natural Marwari dialogue.”
You can then use the translated dialogue during video generation.
Step 12: Generate AI Videos
Once your storyboard is ready, move to All Media.
Here you can:
- Import generated characters
- Upload scene images
- Add your prompts
- Select the Omni Flash model
- Generate AI video clips
Each scene becomes an animated video while preserving character consistency.
Step 13: Batch Generate Multiple Scenes
Instead of generating videos one by one, Google Flow also supports batch generation.
Simply:
- Copy all remaining scene prompts.
- Add the corresponding storyboard images.
- Include the character reference.
- Approve the generation.
Google Flow processes multiple scenes simultaneously.
This can save a tremendous amount of production time.
Step 14: Handle Failed Generations
Occasionally, a scene may fail during generation.
If this happens:
- Simply regenerate that individual scene.
- The remaining completed videos remain unaffected.
Step 15: Download and Upscale
Once the videos are generated, you can:
- Preview each clip
- Upscale the video
- Download the final result
The upscaled version provides better visual quality for publishing.
Why Google Storyboard Studio Is Impressive
Compared to traditional AI workflows, Storyboard Studio removes much of the repetitive work.
Instead of writing dozens of prompts, creators can focus on storytelling while the AI handles:
- Scene planning
- Character creation
- Location design
- Prop generation
- Shot composition
- Storyboard creation
What previously took several hours can often be completed in just a fraction of the time.
Best Use Cases
Google Storyboard Studio is especially useful for:
- YouTube storytelling channels
- AI animation creators
- Educational videos
- Children’s stories
- Short films
- Social media reels
- Marketing videos
- Brand storytelling
- Product explainers
- Training content
Final Thoughts
Google Storyboard Studio represents a major step forward in AI-assisted content creation. By combining automatic scene breakdowns, consistent asset generation, and integrated storyboard creation, it removes many of the most time-consuming parts of the creative process.
Whether you’re an experienced AI creator or just getting started, this tool can dramatically streamline your workflow and help you move from idea to finished storyboard in minutes instead of hours.
