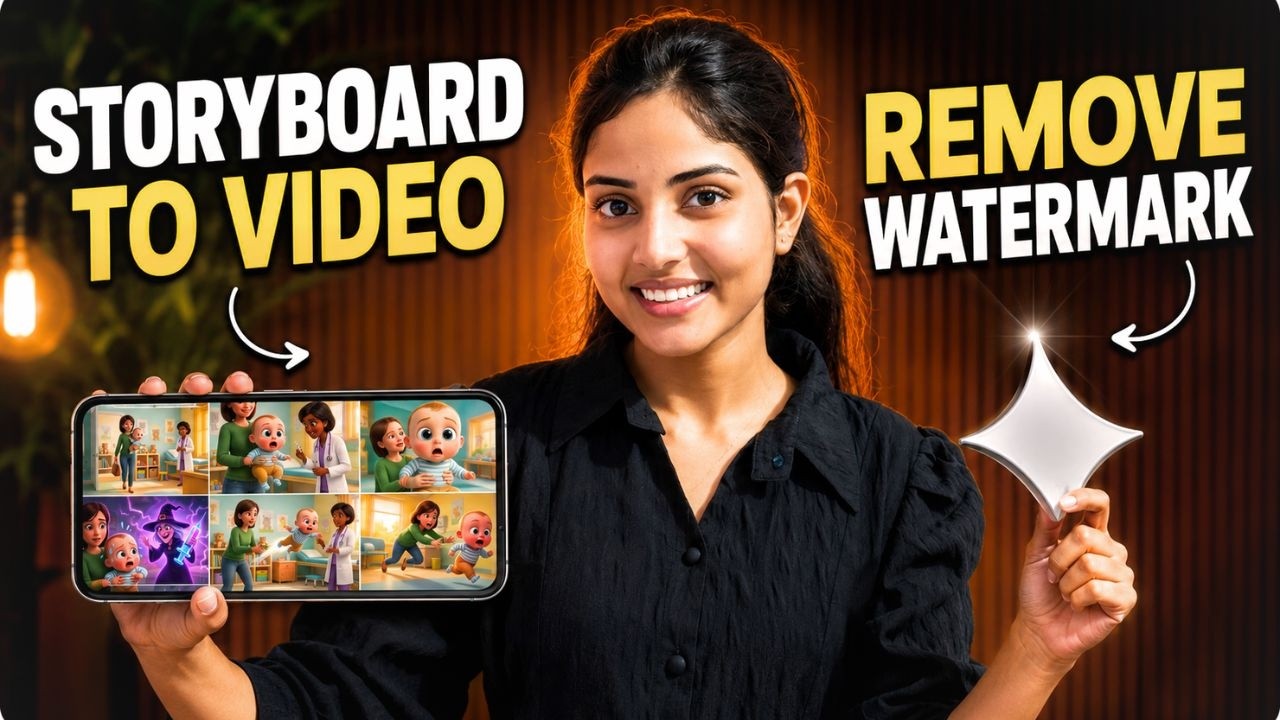
Creating engaging cartoon videos used to require professional animation skills, expensive software, and hours of work. Today, AI has made the entire process much simpler. With the right workflow, you can generate a complete animated cartoon using only a storyboard, AI image generation, and AI video generation.
In this guide, you’ll learn the complete process—from creating a storyboard to generating high-quality animated videos and removing watermarks from the final result.
Step 1: Define Your Video Concept
Before generating anything, clearly decide what kind of cartoon you want to create.
For example:
- Funny cartoon stories
- Dramatic kids animations
- Emotional family stories
- Comedy shorts
- Educational cartoons
Instead of immediately generating images, first give ChatGPT a detailed explanation of your project. Explain:
- What your channel is about
- The style of animation you want
- Target audience
- Character behavior
- Comedy or dramatic tone
- Overall storytelling style
This helps ChatGPT fully understand your creative direction before building your storyboard.
Step 2: Write Your Story
Once ChatGPT understands your project, provide your story in simple language.
Your story doesn’t need to be professionally written. Just explain what happens from beginning to end.
Example:
A little boy is afraid of getting an injection. He runs around the hospital while his mother chases him. The doctor looks scary from the boy’s imagination. Finally, the mother catches him, the doctor gives the injection, and then rewards him with a sticker that makes him smile.
Also specify:
- Total video duration
- Number of storyboard images you want
For example:
- 10 seconds
- 20 seconds
- 30 seconds
If your video is longer, divide it into multiple storyboard images instead of trying to fit everything into one.
For example:
- Storyboard 1 = First 10 seconds
- Storyboard 2 = Next 10 seconds
This produces much better results while keeping the story organized.
Step 3: Generate Storyboard Prompts
Once your story is ready, ask ChatGPT to convert it into detailed storyboard prompts.
Each storyboard prompt should include:
- Exact character appearance
- Expressions
- Camera framing
- Environment
- Props
- Lighting
- Composition
- Emotional mood
- Scene continuity
Each storyboard should naturally continue from the previous one so character consistency remains intact throughout the video.
Step 4: Create Storyboard Images
Now open Google Flow (or another AI image generation platform).
Create a new project.
Paste your storyboard prompt.
Select:
- Image generation
- Preferred model
- Aspect ratio (16:9 recommended)
- Number of images
Generate the first storyboard image.
After it’s complete, generate the second storyboard.
When generating later storyboard images, upload the previous storyboard image as a reference. This helps maintain consistent character identity, clothing, and environment across all scenes.
Step 5: Generate Motion Prompts
Once your storyboard images are ready, use ChatGPT again.
Upload one storyboard image at a time.
Ask ChatGPT to analyze the storyboard and generate a detailed motion prompt.
Since ChatGPT already knows your story, it can understand:
- Character movement
- Facial expressions
- Camera movement
- Timing
- Scene transitions
- Emotional pacing
This creates much more natural animations than writing generic prompts manually.
Step 6: Turn Storyboards into Animated Videos
Return to Google Flow.
Switch from Image Generation to Video Generation.
Paste the motion prompt.
Upload the storyboard image as the visual reference.
Recommended settings:
- Model: Omni Flash
- Duration: 10 seconds
- Aspect Ratio: 16:9
Generate the first video clip.
Repeat the same process for the remaining storyboard images until every scene has been converted into video.
Finally, combine all clips inside your preferred video editor.
Step 7: Remove the Watermark
Some AI video generators may add a watermark to exported videos.
If that happens, you can use an AI watermark removal tool.
The general workflow is:
- Upload the generated video.
- Select the watermark area.
- Resize the selection box until it completely covers the watermark.
- Run the AI removal process.
- Preview the result.
- Export the clean video.
A good AI remover can eliminate the watermark while preserving the original video quality.
Keep in mind that free versions of these tools often have usage limits, so you may need to wait for the quota to reset or use another account if permitted by the service’s terms.
Tips for Better Results
- Keep each storyboard focused on a small part of the story.
- Divide longer videos into multiple storyboard images.
- Maintain consistent character descriptions across every prompt.
- Use the previous storyboard image as a reference for the next one.
- Write highly detailed motion prompts instead of generic animation instructions.
- Keep each generated clip short (around 10 seconds) for smoother AI animation.
- Use cinematic camera movements rather than excessive action.
- Test multiple generations to find the best result.
Final Thoughts
AI has made cartoon production dramatically faster and more accessible. By combining ChatGPT for planning, Google Flow for image and video generation, and an AI watermark removal tool for cleanup, you can create professional-looking animated stories without traditional animation software.
The secret to high-quality results isn’t just using AI—it’s following a structured workflow. A well-written story, detailed storyboard prompts, consistent character references, and carefully crafted motion prompts all work together to produce animations that feel polished, expressive, and engaging.
Whether you’re creating kids’ cartoons, funny shorts, or cinematic animated stories, this workflow provides a simple foundation that you can adapt to almost any style or niche.
