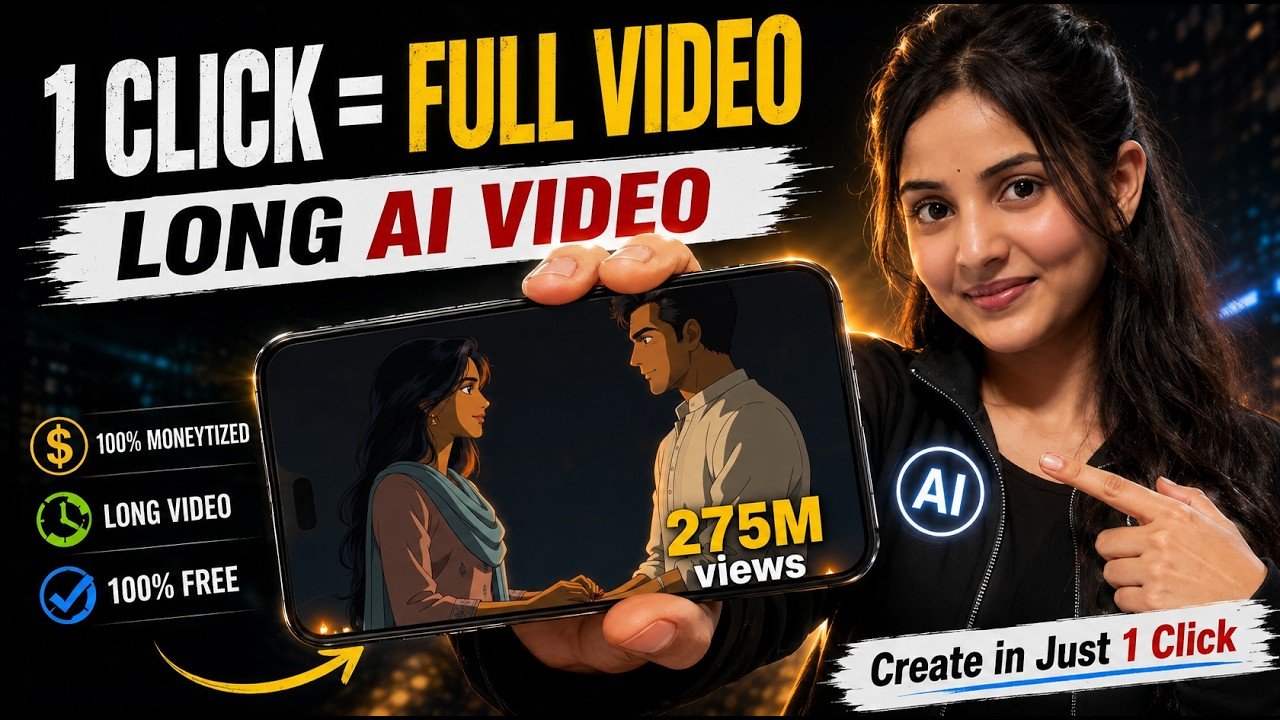
Creating a complete music video usually requires a lot of work. You need a story, characters, images, multiple video clips, editing, transitions, and consistency between every shot.
But AI is changing this entire process.
With the right AI workflow, you can turn your song and a simple story idea into a complete music video of around 50 seconds without manually creating every image or generating every individual scene yourself.
In this guide, we’ll explore how this AI music video workflow works and how you can use it to create story-based videos with consistent characters, multiple locations, automatically planned shots, and cinematic visuals.
Why This AI Music Video Workflow Is Different
Traditional AI video creation usually involves several steps.
First, you write prompts. Then you generate images for every scene. After that, you convert those images into videos, download all the clips, arrange them in an editor, add music, and fix any consistency issues.
This workflow can eliminate a large part of that manual work.
Instead of preparing dozens of prompts and images, you can provide your song, explain the overall concept, and allow the AI to build the visual structure of the music video.
The AI can help generate:
- Characters
- Different character looks
- Locations
- Important story elements and props
- Storyboards
- Individual shots
- Motion ideas
- Video clips
- A final timeline
This makes it especially useful for creators who want to produce AI music videos quickly.
Step 1: Create a Story Concept for Your Song
Before opening the AI video tool, start by deciding what should happen in your music video.
You don’t necessarily need to write every scene individually.
Instead, take your song lyrics and create one clear overall story concept.
For example, if you’re working with a romantic song, you could ask ChatGPT to create a couple-based story that visually represents the meaning and emotions of the lyrics.
Rather than requesting a scene-by-scene breakdown, ask for the entire concept as one continuous story.
This gives you a clean creative direction that can then be provided to the AI video generator.
You can also use your own imagination and write the concept manually if you already know exactly how you want your video to look.
Step 2: Open VidMuse and Sign In
The AI tool demonstrated in this workflow is VidMuse.
After signing in, the tutorial shows an initial allocation of 500 free credits.
The platform includes options for creating different types of AI content, including music videos and advertisements.
For this workflow, we’ll focus on creating a music video.
Select the option to create a new project and begin setting up your video.
Step 3: Upload Your Song
The next step is to upload the music or song you want to use.
This is important because the AI uses the music as the foundation for planning the video.
You can also upload reference images if you want specific characters, visual styles, or other elements to appear in your project.
Using reference images can be particularly helpful when character consistency is important.
Step 4: Add Your Music Video Concept
Paste the story concept you prepared earlier into the concept or description area.
Explain what kind of music video you want the AI to create.
You don’t need to manually write dozens of separate image or video prompts. Instead, give the AI enough information to understand the overall story, atmosphere, characters, and visual direction.
The system can then develop the project further.
Step 5: Choose Your Music Video Style
The workflow provides several types of music videos, including:
Story Music Video – Best when your song follows characters or a narrative.
Abstract Music Video – Suitable for artistic and conceptual visuals.
Performance Music Video – Designed around performance-style visuals.
Viral Shots – Useful for creating visually engaging short-form content.
For a romantic or story-driven song, the Story Music Video option can be a strong choice.
Step 6: Select the Correct Aspect Ratio
Choose your aspect ratio according to the platform where you plan to publish the video.
For standard YouTube videos, select:
16:9
For Instagram Reels, YouTube Shorts, or similar vertical platforms, select:
9:16
Choosing the correct format at the beginning helps avoid unnecessary cropping later.
Step 7: Select Resolution and AI Model
According to the demonstrated workflow, free generation supports 720p resolution.
While higher resolutions may require a premium option, the 720p results shown in the workflow can still provide usable visual quality for AI-generated content.
The platform also provides different model choices.
Choosing the right model becomes particularly important when managing your available credits.
Step 8: Let AI Develop Your Concept
Once generation begins, the AI doesn’t immediately jump to the final video.
Instead, it develops the creative direction and asks for confirmations along the way.
For example, you may be asked what kind of visual style you want.
In the demonstrated project, a Ghibli-inspired visual direction was selected.
The AI then generated multiple concept options. You can select the one that best matches your song.
If none of the suggested options work, you can type your own instructions and guide the AI toward the result you want.
Step 9: Generate Consistent AI Characters
One of the most useful parts of this workflow is automatic character development.
The AI can create the primary characters needed for the story and maintain their visual identity throughout the project.
It can also generate multiple looks for the same character.
For example, a character might have:
- A regular everyday appearance
- A wedding look
- An older-age appearance
These variations allow the story to move across different stages of the characters’ lives while maintaining continuity.
Step 10: Generate Props and Locations
Characters aren’t the only elements the AI prepares.
It can also identify important objects mentioned or implied by your story and generate them as visual assets.
For example, if the lyrics refer to a symbolic thread, the system may create a thread as an important story element.
Similarly, it can prepare relevant locations such as a temple, a house, or an exterior location.
By creating these assets before generating the video, the system establishes a more consistent visual world.
Step 11: Let AI Build the Storyboard
After the characters, locations, and visual elements are approved, the AI can move into scene and shot planning.
This is where the workflow becomes especially useful.
Instead of manually deciding how long every shot should remain on screen, the AI analyzes the project and divides it into scenes and individual shots.
In the example demonstrated in the tutorial, the project was planned as:
6 scenes
28 total shots
Approximately 47 seconds of video
The storyboard also specifies the duration of different clips and the type of motion that can appear within the shots.
This essentially gives you an automatically generated production plan for your music video.
Step 12: Review Before Generating Video
Don’t immediately generate everything without checking the storyboard.
Review the images, shots, character appearances, locations, and overall story progression first.
If something doesn’t match your concept, you can type additional instructions and request changes.
This is much more efficient than discovering a major story problem after spending credits on video generation.
Important Credit-Saving Trick
One of the most important lessons from the demonstrated workflow is choosing the appropriate generation model before generating all the video clips.
The higher-cost model can consume credits quickly.
In the example, generating the complete 47-second project with the more expensive option was estimated at around 940 credits.
As a result, the available credits were exhausted before every planned clip could be generated.
A lower-cost or faster model was then used for the remaining generation.
The results were still considered good enough for the music video.
Therefore, if your main objective is to complete the entire video using limited credits, consider using the lower-cost model from the beginning rather than switching only after your credits are almost exhausted.
Generate Your AI Video Clips
Once everything looks correct, proceed with video generation.
The AI transforms the prepared storyboard and visual assets into individual animated clips.
Because the music has already been divided into different sections, the generated shots can be organized according to the timing of the song.
After generation, review each clip to make sure it works with your story.
Use the Timeline to Preview the Full Video
Once the clips are ready, open the timeline.
Here, you can see the work arranged together and preview how the complete music video looks with your song.
This is where you can evaluate whether the story flows naturally from one moment to another.
If the characters, visuals, pacing, and music work together properly, you can proceed to export.
What If You Run Out of Credits?
Credit management is an important part of AI video generation.
The workflow demonstrates that the platform may provide additional credit opportunities, including referral-related credits.
The tutorial also discusses using reference images when continuing work so that characters and other important visual elements remain consistent.
Availability and terms for free or referral credits can change, so always check the platform’s current rules before relying on them for a project.
How to Export Your AI Music Video
After completing the project, go to the timeline and select the final video download option.
The workflow also shows an option to download the project assets, which can include individual clips, storyboard material, visual designs, and props.
This can be helpful if you want greater control over the final edit.
Final Video and Watermark
According to the demonstrated workflow, the final combined export can contain a watermark.
However, individual generated clips were shown without the same visible watermark.
A practical editing workflow is therefore to download your individual clips, import them into your preferred video editor, arrange them according to the storyboard, and add the original song underneath.
This also gives you greater control over timing, transitions, color correction, effects, and the final export.
Why This Workflow Is Useful for Content Creators
The biggest advantage isn’t simply AI video generation.
It’s automation of the entire pre-production process.
Normally, creating a story-based AI music video could require you to separately handle:
story writing → prompts → character design → image generation → consistency → locations → shot planning → image-to-video generation → editing.
With this workflow, much of that process can happen inside one AI-powered environment.
That can save significant time for music creators, YouTubers, social media creators, and anyone experimenting with AI filmmaking.
Final Thoughts
AI music video creation is becoming much more automated.
Instead of manually generating dozens of images and converting each one into a video, creators can now start with something as simple as a song and an overall story concept.
The AI can then help develop the characters, locations, visual elements, storyboard, shot durations, and final video clips.
The most important tip is to plan your concept before starting and carefully manage your generation credits. Review the storyboard before spending credits on video generation, and consider lower-cost generation models when your goal is to produce a longer video within a limited free-credit budget.
With the right workflow, creating an approximately 50-second story-based AI music video can become significantly faster and easier than the traditional prompt-by-prompt approach.
