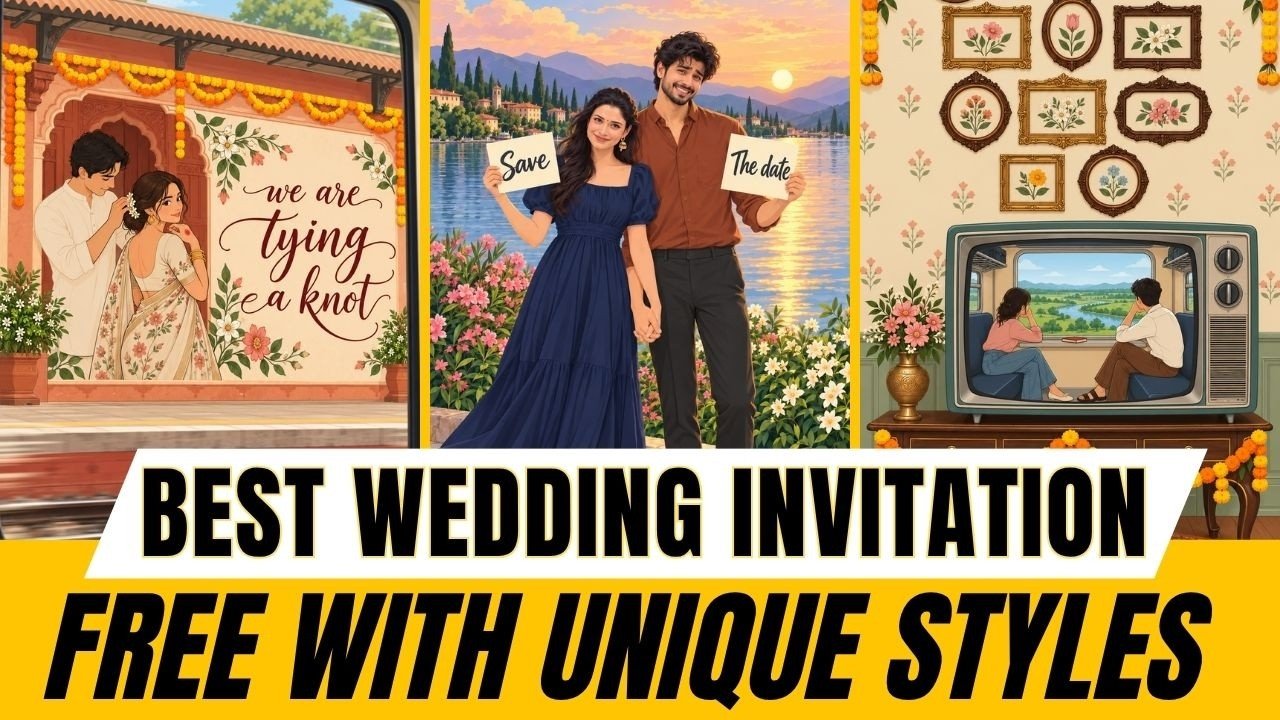
Imagine your wedding invitation opening with a vintage camera clicking a photograph. The picture slowly appears, revealing illustrated versions of you and your partner. The camera moves closer, the scene comes to life, and your wedding date appears.
That is the charm of an AI wedding invitation video. It turns a simple announcement into a personal story.
You do not need advanced animation skills to get started. With a clear concept, reference photographs, image generation, and a little editing, you can create an invitation that feels thoughtfully designed.
Here is a practical workflow based on four main steps.
Step 1: Create Your Bride and Groom Characters
Start with clear photographs of the bride and groom. A couple photograph works well, but separate photographs can also be used.
Choose an illustration style before generating your characters. Flat illustration is a good choice for a clean, colourful invitation. Watercolour, storybook illustration, and stylised 3D animation can also create different moods.
The key is to choose one style and use it throughout the video.
For example, you could use this prompt:
Create a wedding illustration of the couple in the uploaded photograph. Preserve their recognisable facial features, skin tone, and hairstyle. Use a clean flat illustration style with elegant Indian wedding outfits, a coordinated colour palette, and a simple background. No text or watermark.
Review the result carefully. If either character looks noticeably different from the reference, refine the image before moving on.
Once you are happy with both characters, save the image. It will become your main identity reference for the remaining scenes.
Step 2: Find Inspiration and Plan Your Story
Before generating backgrounds, decide how your invitation will unfold.
Pinterest can help you explore wedding invitation concepts, colour combinations, and visual arrangements. Search for phrases such as:
- Animated wedding invitation
- Indian wedding illustration
- Save the date video
- Vintage wedding invitation
- Flat illustration wedding animation
Use these references to develop your own concept. A distinctive invitation becomes more memorable when it reflects something about the couple.
For example, a couple who loves travelling could use a train journey as their theme. A nostalgic design could feature a vintage television. A traditional Indian invitation could begin with carved haveli doors opening.
Keep the story simple. A short invitation might include:
- An opening scene that introduces the theme.
- A reveal of the couple.
- A gentle animated moment.
- A final frame with names, date, and venue.
Planning these moments first makes the image generation process much easier.
Step 3: Generate Consistent Images for Every Scene
Now create the images that will form the key frames of your video.
Describe each scene clearly, including its background, composition, colours, and illustration style. Whenever the couple appears, include the approved character image as a reference.
You can also include the previous scene to help maintain visual consistency.
For a vintage camera concept, your image sequence could be:
- A clean illustrated background.
- A hand holding an instant camera.
- A photograph emerging from the camera.
- A close-up of the photograph showing the couple.
- A final invitation frame.
A useful scene prompt might be:
Create a vertical 9:16 wedding invitation scene in the same flat illustration style as the uploaded references. Show a hand holding a vintage instant camera against a warm pastel background. A small photograph is emerging from the camera, showing the reference couple in an elegant garden. Keep their facial features, outfits, and colours consistent. No text or watermark.
Check every image before animating it. Look closely at faces, hands, jewellery, clothing, and background details. Small differences can become distracting when scenes play one after another.
For important invitation details, leave a clean area for text. Adding names and dates during editing gives you more control over spelling, spacing, and readability.
Step 4: Animate the Images
Once the images are ready, write a motion prompt for each transition.
An image prompt describes what a scene looks like. A motion prompt explains what happens within it.
For example:
Begin with the plain illustrated background. A hand gently brings a vintage instant camera into the centre of the frame. The camera clicks with a brief flash, then a small photograph slowly emerges. Keep the illustration style and camera design consistent. Use smooth, controlled movement and finish on the supplied end frame.
Google Flow supports creating clips from start and end frames, with a text prompt describing the movement between them. Choose a model and settings that support the frame controls you need. Google Flow Help
To connect your scenes, use the images in overlapping pairs:
- Image 1 to Image 2.
- Image 2 to Image 3.
- Image 3 to Image 4.
Using the same image at the end of one clip and the beginning of the next can help the sequence feel continuous. Still, review each join: matching frames alone does not guarantee that movement will flow perfectly.
Keep each prompt focused on a small number of actions. A gentle zoom, an opening door, or a photograph emerging is usually easier to control than several complicated movements happening together.
Assemble the Final Invitation
Import the generated clips into your video editor and arrange them in story order.
Trim unnecessary pauses and adjust the pacing. Let the opening create curiosity, give the couple reveal enough time to register, and hold the final details long enough for guests to read them.
Add suitable music, keeping its mood aligned with the visuals. A playful invitation might suit a light whistle melody, while a traditional design could use gentle instrumental music.
Before exporting, check:
- The spelling of both names.
- The wedding date and event time.
- The venue and address.
- Text visibility on a phone screen.
- Character consistency across scenes.
- Smoothness between clips.
Can You Make It for Free?
The tutorial presents a workflow using free access or promotional credits. Before starting, check what is available in your own accounts rather than assuming that every generation will be free.
You can make your available credits go further by approving the still images first, keeping animations simple, and generating only the scenes you need.
Give Your Invitation a Personal Touch
The most appealing AI wedding invitations have a clear idea behind them. A favourite place, a shared hobby, or a small detail from your relationship can make the video feel personal.
Start with consistent characters, build a simple story, and animate it with care. The result can be an invitation that guests enjoy watching—and one you will want to keep long after the wedding.
